Opening: The Art of a Fruit Platter
Imagine the joy of presenting a vibrant fruit platter at your next gathering – the colors dazzling, the arrangement captivating, and the flavors irresistible. A beautifully crafted fruit platter isn’t just food; it’s an expression of creativity, care, and celebration. Whether you’re hosting a party, planning a brunch, or just treating yourself, this guide will help you master the art of making a stunning fruit platter that leaves everyone impressed. Let’s dive in!
Table of Contents
Choosing the Best Fruits for Your Platter
Seasonal Fruits for Maximum Flavor
When selecting fruits for your platter, prioritizing seasonal options ensures both superior taste and vibrant color. Seasonal fruits are fresher, more affordable, and typically at their peak in flavor. For instance:
- Spring: Strawberries, apricots, kiwi.
- Summer: Watermelon, pineapple, mango.
- Fall: Grapes, apples, figs.
- Winter: Pomegranates, oranges, pears.
By choosing fruits that complement the time of year, you’ll create a platter that resonates with the season and tantalizes the taste buds.
Balancing Flavors and Textures
A perfect fruit platter is all about balance. Pair contrasting flavors and textures to delight your guests:
- Sweet and Tart: Combine sweet fruits like watermelon with tart options such as pineapple.
- Soft and Crunchy: Mix juicy berries with firm apples or pears for textural contrast.
Preparing Your Fruits
Preparation is key to making fruits both visually appealing and easy to eat:
- Wash all fruits thoroughly to ensure cleanliness.
- Dry them completely to prevent sogginess on your platter.
- Cut fruits into bite-sized pieces or shapes for convenience and aesthetic appeal.
Essential Tools for Perfect Presentation
Must-Have Tools for Fruit Platter Preparation
The right tools can elevate your fruit platter from ordinary to extraordinary. Here’s what you’ll need:
- Sharp Knife and Cutting Board: Ensure precise and clean slicing.
- Melon Baller: Create uniform, round shapes for a polished look.
- Cookie Cutters: Add playful designs like stars or hearts to your fruits.
- Serving Tray or Board: Opt for materials like wood, ceramic, or marble to enhance the platter’s presentation.
Investing in these tools will make the process smoother and more enjoyable while ensuring your platter looks professional.
Step-by-Step Guide to Arranging a Beautiful Fruit Platter
Start with a Base
Begin by laying down a foundation for your platter. A bed of green leaves like kale or mint adds a fresh and vibrant contrast to the fruits. It also provides a structured base that holds everything in place.
Arrange Fruits Strategically
Here’s how to layer your fruits for maximum impact:
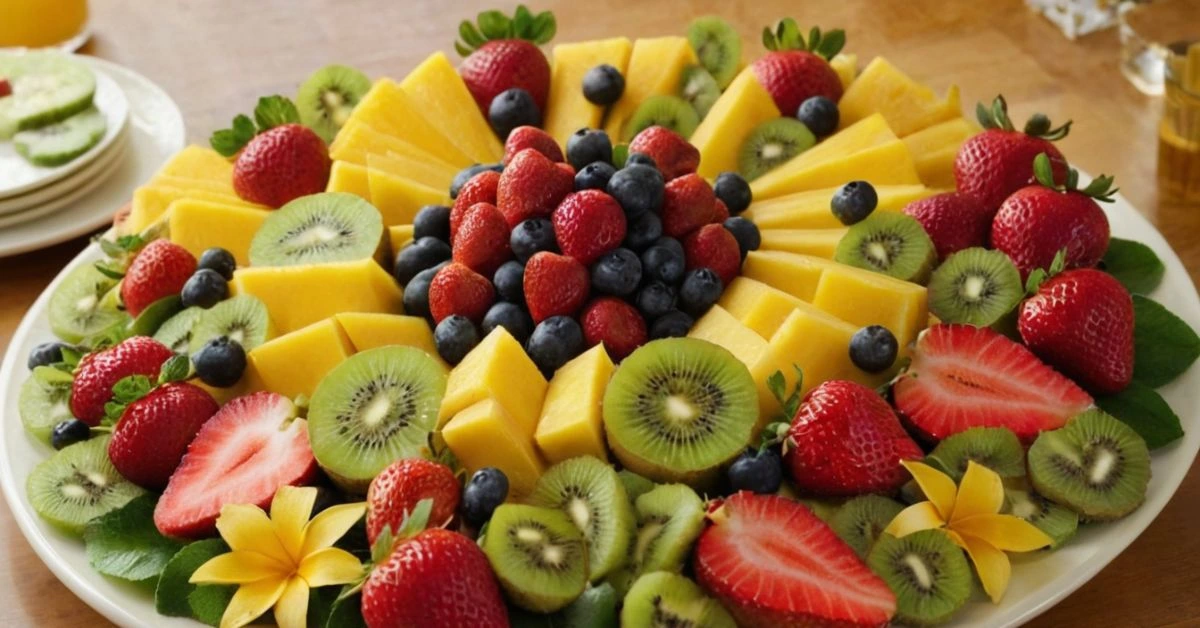
- Outer Ring: Place larger fruits like watermelon slices along the edge.
- Middle Layer: Use medium-sized fruits such as kiwi or orange slices.
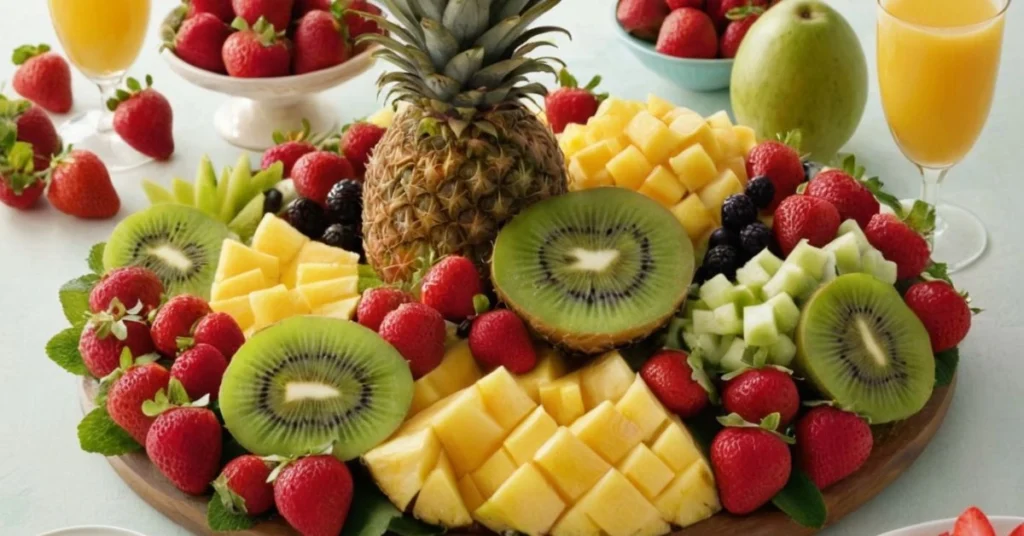
- Center: Fill the center with smaller fruits like berries or grapes to create a focal point.
This arrangement not only looks stunning but also makes it easy for guests to pick their favorites.
Add Garnishes for Extra Appeal
Enhance your platter with thoughtful garnishes:
- Mint leaves add freshness and fragrance.
- Edible flowers introduce a whimsical touch.
- A sprinkle of shredded coconut or lime zest brings texture and flavor.
Create Visual Harmony
To ensure your platter is as appealing to the eyes as it is to the taste buds, alternate contrasting colors. For example, place bright red strawberries next to green kiwi slices. This interplay of colors makes the presentation pop.
Creative Ideas for Themes and Designs
Holiday-Themed Platters
Tailor your fruit platter to match the occasion:
- Christmas: Arrange fruits into a tree shape, using strawberries, kiwi, and grapes.
- Valentine’s Day: Incorporate heart-shaped watermelon and strawberries.
Tropical Paradise
Transport your guests to an island getaway with tropical fruits:
- Include mango, pineapple, dragon fruit, and papaya.
- Serve alongside coconut yogurt for dipping.
Kid-Friendly Designs
Make your platter fun and engaging for younger audiences:
- Use cookie cutters to shape fruits into animals or stars.
- Arrange fruits into a rainbow pattern for a colorful and inviting display.
Recipes Table: Fruits and Garnishes
| Fruit | Preparation Tips | Garnishes |
|---|---|---|
| Strawberries | Slice in half or leave whole | Mint leaves |
| Kiwi | Peel and slice into rounds | Edible flowers |
| Watermelon | Cut into triangles or cubes | Lime zest |
| Pineapple | Core and slice into wedges | Coconut flakes |
| Grapes | Serve in small bunches | Honey drizzle |

FAQs About Making a Fruit Platter
Frequently Asked Questions
Q1: How far in advance can I prepare a fruit platter?
You can prepare it up to 12 hours in advance. Store it in the refrigerator, covered with plastic wrap to keep it fresh.
Q2: What fruits should I avoid using in a platter?
Avoid fruits that brown quickly, like bananas and apples, unless treated with lemon juice.
Q3: Can I make a fruit platter without a serving tray?
Yes, you can use a cutting board, large plate, or even a clean sheet of parchment paper as a base.
Q4: What are some healthy dipping options for a fruit platter?
Try Greek yogurt, honey, or nut butter for a healthy and delicious accompaniment.
Q5: How do I prevent fruits from sliding off the tray?
Arrange larger fruits first to create a stable base, and layer smaller fruits on top.
Conclusion: Impress with Every Bite
Crafting a beautiful fruit platter is simpler than it seems. With the right fruits, tools, and arrangement techniques, you can create a masterpiece that’s as delicious as it is visually appealing. Whether for a casual brunch or a festive party, your fruit platter will be the star of the table. So, gather your favorite fruits and start creating today!
Call to Action: Share your stunning fruit platter creations with us by tagging #HasteRecipes on social media. Let’s celebrate the art of beautiful and delicious food together!

