Opening: The Heartfelt Joy of Baking a Love Heart Cake
Imagine this: you’ve just finished baking a heart-shaped cake, and the delightful aroma of freshly baked goodness fills the air. It’s a cake that’s not just made of flour, sugar, and eggs; it’s made of love, care, and attention to detail. Whether you’re baking for Valentine’s Day, an anniversary, or simply to show someone how much you care, a love heart cake is more than just a dessert—it’s an experience. The act of preparing this cake, decorating it with your own personal touch, and serving it to someone special is a beautiful expression of affection.
Baking a love heart cake can be both fun and rewarding. The method is just as important as the final product. By the end of this step-by-step guide, you’ll have a stunning heart cake ready to celebrate any occasion. Whether you’re a novice baker or an experienced one, these instructions will help you make the perfect heart cake from scratch.
What You’ll Need to Make a Perfect Heart Cake
Before you dive into the process of baking, let’s ensure that you have all the tools and ingredients you need. Having everything prepared ahead of time will make your baking experience smooth and enjoyable.
Essential Baking Tools for a Heart Cake
To make a heart-shaped cake, it’s important to have the right tools. Here’s what you’ll need:
- Heart-shaped Cake Pan: This is the most essential tool for creating the iconic shape of the heart cake. Choose a high-quality, non-stick cake pan to make sure your cake releases easily.
- Mixing Bowls: You’ll need both large and small bowls for mixing your ingredients.
- Electric Mixer or Whisk: An electric mixer makes the process quicker and easier, but a manual whisk works just as well if you’re up for a bit of arm exercise!
- Measuring Cups and Spoons: Accuracy is key when baking. Use proper measuring tools for the best results.
- Cooling Rack: A cooling rack is crucial for ensuring your cake cools evenly and prevents it from becoming soggy.
- Cake Spatula: This will help you spread frosting smoothly and evenly over your cake.
- Piping Bags: If you want to add beautiful designs or writing to your cake, piping bags are essential.
- Cake Leveler (Optional): A cake leveler will help you achieve an even, flat cake for perfect decoration.
Ingredients for a Love Heart Cake
Here’s a list of ingredients you’ll need to bake your heart cake:
| Ingredient | Quantity |
|---|---|
| All-purpose flour | 2 cups |
| Sugar | 1 cup |
| Unsalted butter | 1/2 cup |
| Eggs | 3 large |
| Vanilla extract | 1 tsp |
| Baking powder | 1 1/2 tsp |
| Salt | 1/4 tsp |
| Milk | 1 cup |
| Heavy cream (for frosting) | 1 cup |
| Powdered sugar | 2 cups |
| Food coloring (optional) | As desired |
These ingredients are the foundation of your cake and frosting. They combine to create a light, fluffy cake with a rich, smooth frosting that can be decorated to your heart’s content.
Step-by-Step Instructions for Baking Your Love Heart Cake
It’s time to begin baking now that you have everything you need. Follow these steps carefully, and soon you’ll have a beautiful heart-shaped cake ready for decoration!
Step 1: Preheat and Prepare the Pan
The first step in any baking project is preheating your oven. For this heart cake, preheat your oven to 350°F (175°C). While the oven is heating, take your heart-shaped cake pan and grease it generously with butter or non-stick spray. Then, lightly flour the pan to ensure the cake comes out smoothly once it’s baked. For easier removal, you can also line the pan with parchment paper.

Step 2: Make the Cake Batter
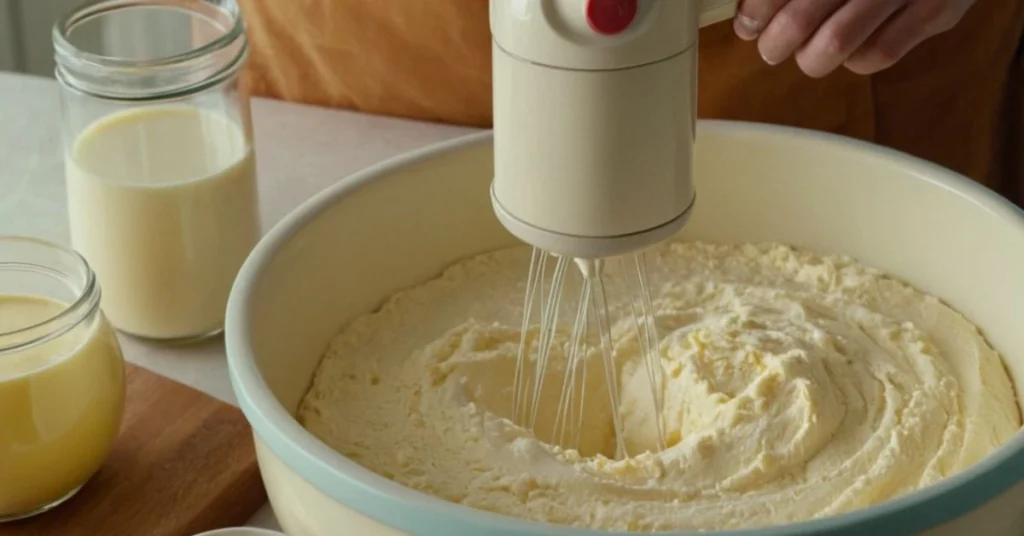
Now it’s time to prepare your cake batter. In a large mixing basin, begin by combining the sugar and butter. Use an electric mixer or a whisk to beat them together until the mixture is light and fluffy. This step is important, as it ensures your cake will be soft and airy.
Next, add the eggs one at a time, beating well after each addition. Stir in the vanilla extract for added flavor. Mix the dry ingredients (salt, baking powder, and all-purpose flour) in a different bowl. Alternating with the milk, gradually incorporate the dry ingredients into the wet mixture. Mix until everything is just combined—be careful not to overmix, as this can make the cake dense.

Step 3: Pour and Bake
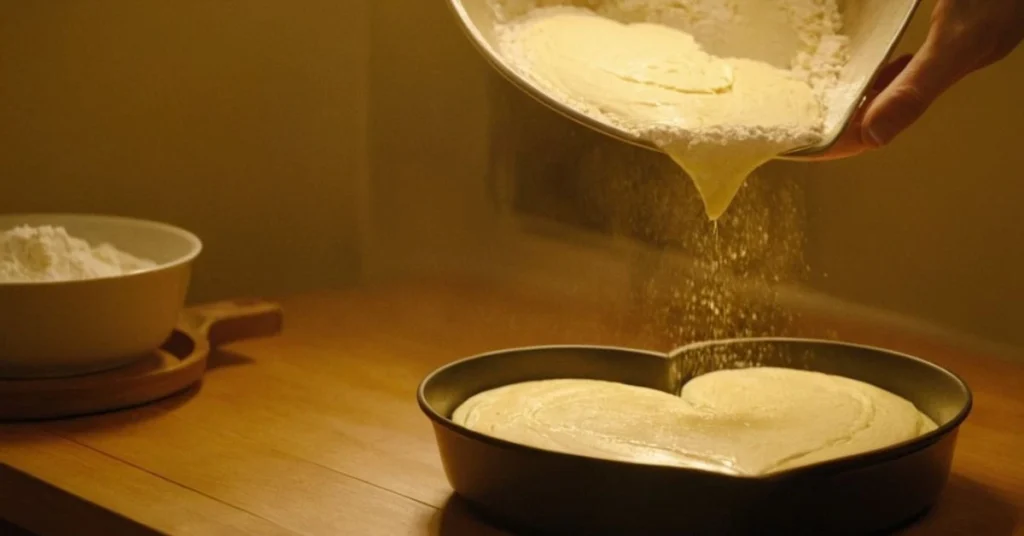
Once your batter is ready, pour it into the prepared heart-shaped pan. Use a spatula to spread the batter evenly, making sure it fills the pan to the edges. A toothpick put into the center of the pan should come out clean after 25 to 30 minutes of baking in a preheated oven.
After baking, allow the cake to cool in the pan for about 10 minutes before transferring it to a cooling rack. Before proceeding to the following stage, allow the cake to cool fully.

Decorating Your Heart Cake: Tips and Tricks
Now comes the fun part—decorating your heart cake! This is where you can really get creative and personalize the cake to your liking.
Step 4: Prepare the Frosting
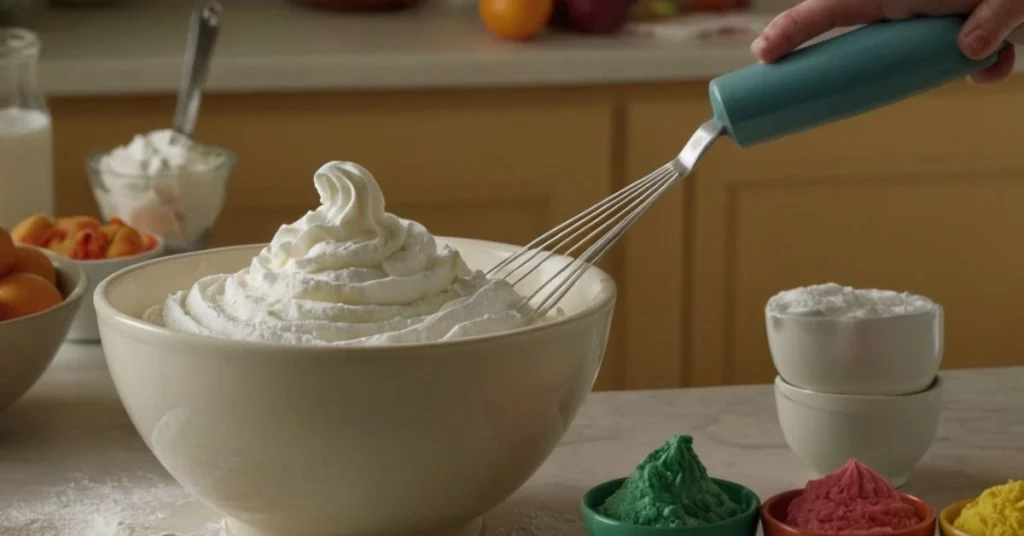
For frosting, you have a couple of options. One of the most popular choices is buttercream frosting, which is smooth, creamy, and easy to work with. To make the frosting, whip the heavy cream and powdered sugar together until stiff peaks form. This will create a light, fluffy frosting that’s perfect for spreading.
If you want to add a little color, feel free to incorporate food coloring. Red or pink are classic choices for a love heart cake, but you can go with any color that suits the occasion. For a more elegant look, you can even add edible glitter or gold leaf.

Step 5: Apply the Frosting and Add Decorations
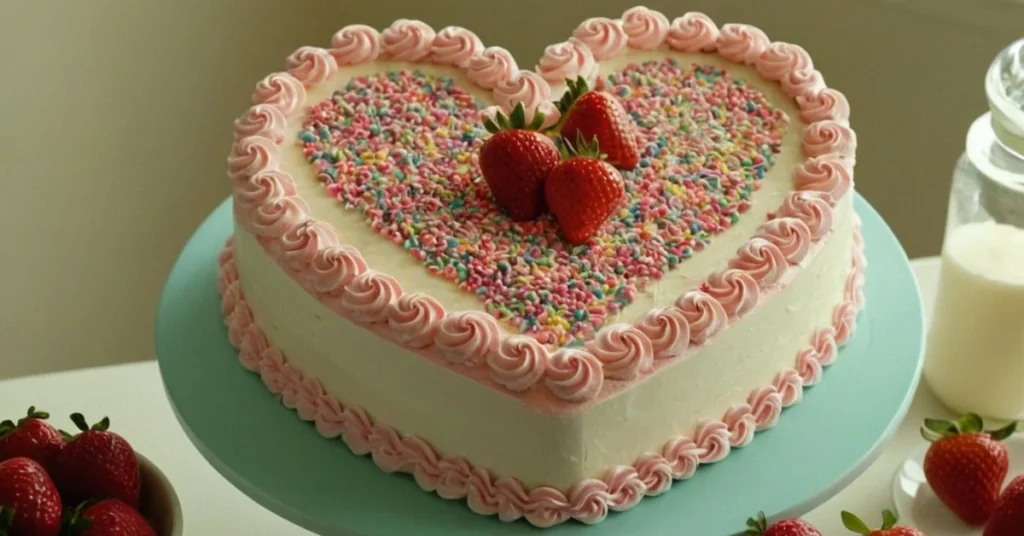
Once your cake is cool and your frosting is ready, it’s time to apply the frosting. Use a cake spatula to spread a thin layer of frosting over the top of the cake, smoothing it out as you go. Be sure to frost the sides of the cake as well, giving it a nice, even coat.
Now comes the fun part: decorating! You can use piping bags to create beautiful designs like rosettes, borders, or even a romantic message. Fresh strawberries, edible flowers, or chocolate decorations can also make beautiful additions. If you want a touch of elegance, try using fondant to shape smaller hearts or other decorations to place on top of your cake.

Serving Suggestions for Your Love Heart Cake
How you serve your love heart cake can make the moment even more special. Here are some ways to present your creation:
Romantic and Fun Ways to Serve Your Cake
- Individual Slices: Serve individual heart-shaped slices for a personal touch. This is especially great for a romantic dinner.
- Cake for Two: If you’re baking for a smaller, more intimate occasion, consider making a mini heart cake or cutting the cake into two heart-shaped halves to share.
- Themed Plates and Cutlery: Make the moment even more special by using themed plates and utensils, such as ones with hearts or floral designs.
FAQs: All Your Love Heart Cake Questions Answered
Here are some common questions that many bakers have when it comes to making a heart-shaped cake.
What’s the best frosting for a heart cake?
Buttercream frosting is an excellent choice for a heart cake because it’s easy to work with, smooth, and holds its shape well. However, you can also use whipped cream for a lighter, fluffier finish.
Can I make a heart cake without a heart-shaped pan?
Yes, if you don’t have a heart-shaped pan, you can bake the cake in a round or square pan and cut it into a heart shape after it cools. Just make sure the cake is firm enough to handle the cutting.
How do I prevent my heart cake from sticking to the pan?
Greasing and flouring the pan is essential. Alternatively, you can use parchment paper to line the pan, which makes removing the cake much easier.
Can I make a gluten-free heart cake?
Absolutely! Substitute the all-purpose flour with a gluten-free flour blend, and make sure the other ingredients do not contain gluten.
Conclusion: A Sweet Token of Love
Creating a love heart cake is more than just baking a dessert—it’s about crafting something meaningful and memorable. With these step-by-step instructions, you’re equipped to bake a heart-shaped cake that’s not only delicious but also full of love. Whether you’re celebrating a romantic occasion or simply showing someone you care, this cake is sure to leave a lasting impression. Happy baking, and don’t forget to share the love with every slice!


1 thought on “Step-by-Step Guide to Making a Love Heart Cake”